Revenue Cycle Management
Introduction to Revenue Cycle Management
Eligibility
Medical Insurance Authorization
Revenue Reconciliation
Denials
Revenue Recovery
Quiz
Resubmission; Walk-through
Sample Resubmission Processes
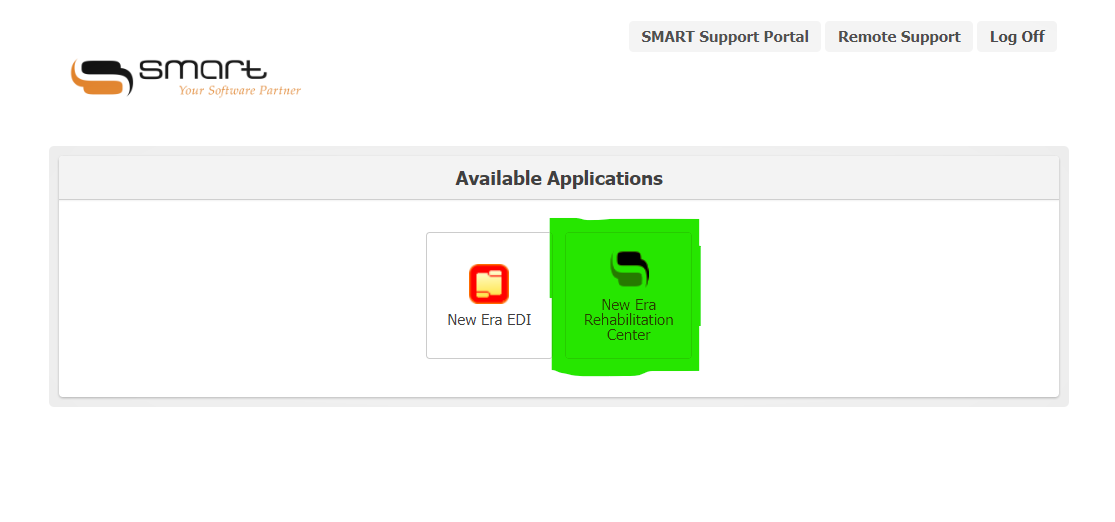
- Log on to the Electronic Health Records application
- Click on the relevant login information
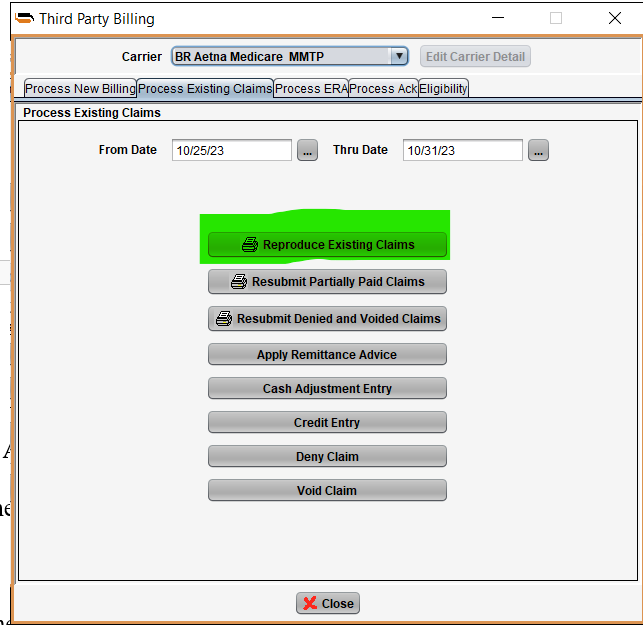
- Go to the Accounts and then Third Party Billing
- Choose the carrier you want to resubmit claims in, then click on ‘Process Existing Claims’
- Change the ‘From and Thru Dates’ to include the last payment date (this is so that you would be able to find the dates of these denied claims therein)
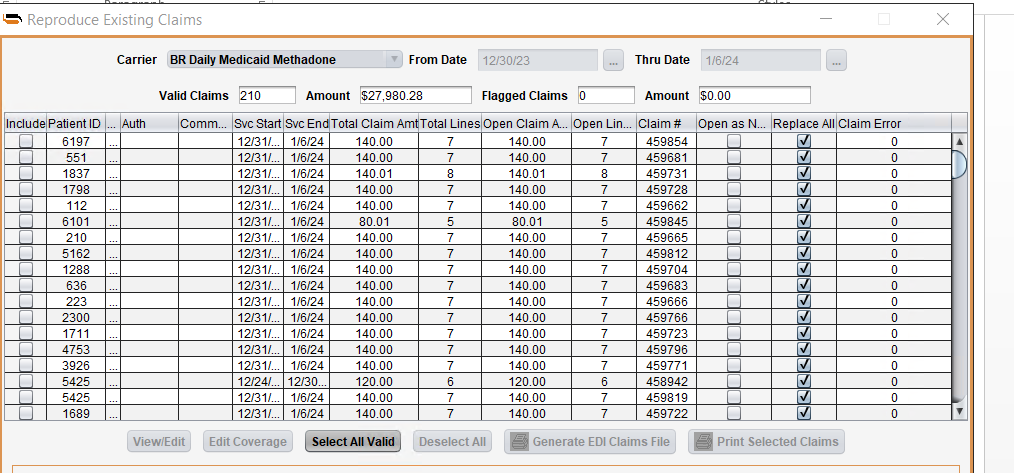
- Click on ‘Reproduce Existing Claims’
- Then, manually tick the claims you want to resubmit, then generate EDI File Claims (Once you click on this, you’d see a pop-up with the message ‘Mark claims as submitted’, click YES)
- Save in the 837/Resubmission File, save with the date first, carrier & add RESUB, like this, 12-01-23 BR Daily Medicaid Methadone RESUB.
- Then close.
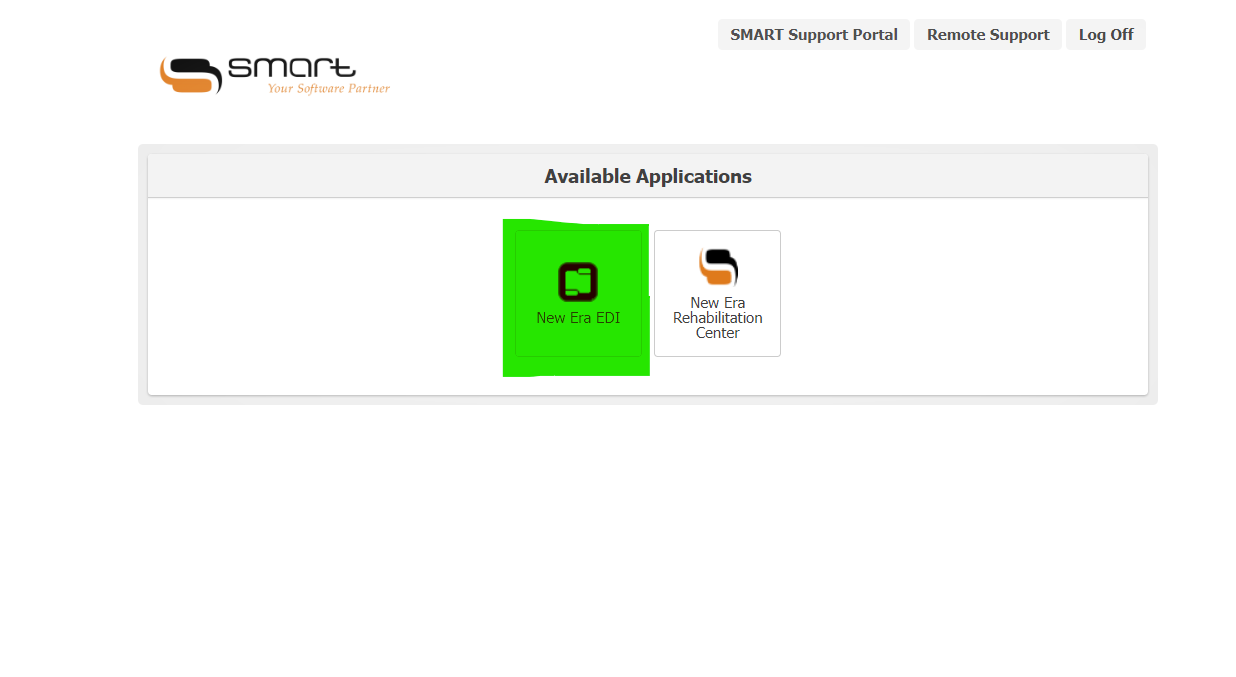
- Go to New Era EDI icon on Smart, click on it, Click on ‘EDI-OSH --- 837 --- Resubmissions ---- the month ---- you’d see the file(s) you saved.
- Copy the file(s) & paste them on your desktop.
- Go to the site you want to submit the claims to, depending on the carriers & upload the files.
- Log in with the right login, (this is dependent on the carrier)
- Click on Trade File --- Upload --- Choose File (it will take you back to your documents/desktop, where you earlier pasted the files. Click on the file once, copy the file name, then click open.
- Change the transaction type to ‘HIPAA (x12 or NCPDP)’
- Paste the filename you copied in the 3rd box
- Then Click Upload. You’d see an info below stating that Upload was successful with a tracking number.
- First, change the file name on your desktop by adding ‘.X12’ in front of the file name, else it won’t be accepted on Availity. For instance, if the filename you saved on your EDI & copy on your desktop is ‘12-01-23 BR Daily Medicaid Methadone RESUB’, if you want to upload on Availity, you’d change the filename to ‘12-01-23 BR Daily Medicaid Methadone RESUB.X12’ (this is the only acceptable file type)
- Log in to the site
- Go to Claims & Payments --- Send & Receive EDI Files
- Select the Organization, Click on Submit, then click on send files --- Choose Files & upload


Note that FLAGGED CLAIMS (i.e claims with a red, check box MUST be saved separately with FLAGGED at the end of the filename before saving).

Sites to submit Claims (Just as billing is uploaded)
STate Department Website (Medicaid)
AVAILITY
Have a doubt?
Login